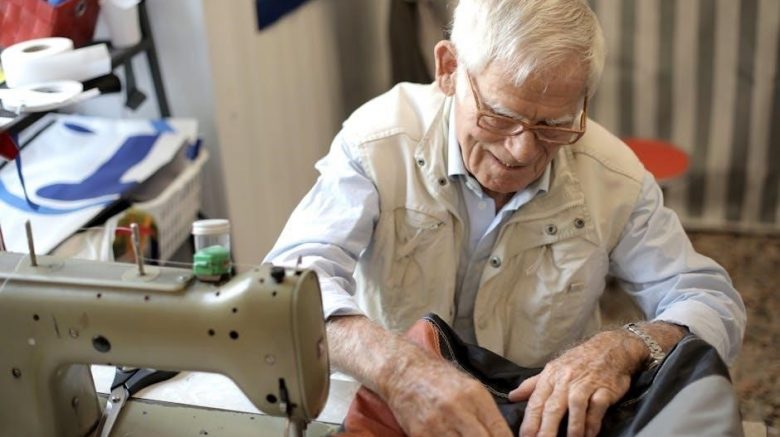
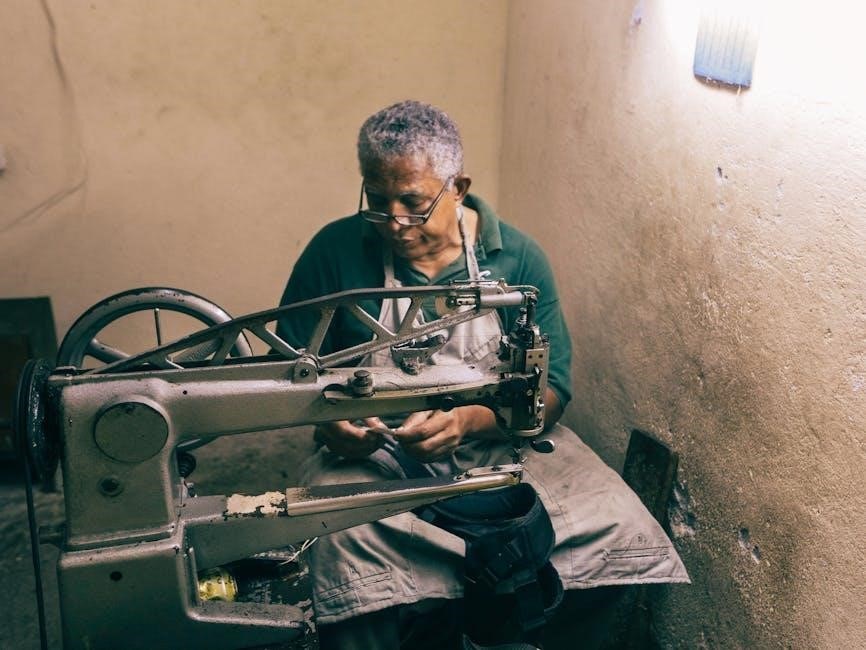
The Husqvarna Viking sewing machine is a versatile and user-friendly device designed for both beginners and experienced sewers․ It offers advanced features like embroidery, customizable stitches, and an intuitive interface, making it a popular choice for various sewing projects․
Reading the manual is essential to ensure safe operation and to maximize the machine’s potential․ It provides detailed guidelines, troubleshooting tips, and maintenance advice, helping users understand its features and settings for optimal performance․
1․1 Overview of the Machine and Its Features
The Husqvarna Viking sewing machine is a high-performance sewing and embroidery machine designed for versatility and precision․ It features advanced stitching options, customizable patterns, and an intuitive interface․ The machine is suitable for both beginners and experienced sewers, offering a wide range of functions for sewing, quilting, and embroidery projects․ Its robust design and user-friendly controls make it a popular choice for crafters and professionals alike․
With its embroidery function, customizable stitches, and advanced tension control, the Husqvarna Viking sewing machine is a versatile tool for creating intricate designs and durable seams․ It also includes safety features like automatic shut-off and secure threading mechanisms, ensuring a safe and efficient sewing experience․
1․2 Importance of Reading the Manual
Reading the manual is crucial for safe and effective operation of the Husqvarna Viking sewing machine․ It provides essential safety precautions, setup instructions, and troubleshooting tips․ Understanding the machine’s features and proper usage ensures optimal performance and prevents damage․ The manual also offers maintenance guidance, helping extend the machine’s lifespan and maintain its functionality․ Referencing it allows users to resolve issues quickly and maximize their sewing experience․
By following the manual, users can avoid common mistakes and ensure their projects are completed efficiently․ It serves as a comprehensive guide, helping both beginners and experienced sewers make the most of their machine’s capabilities․ Reading the manual is the best way to achieve professional results and enjoy a seamless sewing experience․
Safety Instructions
Always unplug the machine after use and keep it out of children’s reach․ Never leave it unattended while plugged in․ Follow all safety guidelines in the manual to ensure safe operation and avoid potential hazards․
2․1 General Safety Precautions
Always unplug the machine after use and never leave it unattended while plugged in․ Keep children away and avoid dangerous situations․ Use the machine only as intended and follow all guidelines in the manual to ensure safe operation and prevent accidents․ Regular maintenance and proper handling are essential to maintain functionality and safety․
2․2 Electrical Safety Guidelines
Always unplug the machine before making adjustments or cleaning․ Never use damaged cords or overload outlets․ Keep the machine dry and avoid exposure to water․ Use only the correct voltage as specified in the manual․ Follow all electrical safety guidelines to prevent shocks or malfunctions, ensuring safe and reliable operation of your Husqvarna Viking sewing machine․
Setting Up the Sewing Machine
Unpack and inspect the machine for damage․ Place it on a stable, flat surface․ Plug in the power cord, ensuring it’s securely connected to a nearby outlet․
3․1 Unpacking and Initial Inspection
Begin by carefully unpacking the Husqvarna Viking sewing machine from its box․ Inspect all components, including the machine, accessories, and power cord, for any visible damage or defects․ Ensure all parts listed in the manual are included․ If any damage is found, contact the retailer immediately․ This step ensures your machine is ready for safe and proper setup․
3․2 Placing the Machine on a Stable Surface
Place the Husqvarna Viking sewing machine on a sturdy, flat, and stable surface to ensure smooth operation․ Avoid uneven or soft surfaces, as they may cause vibration or imbalance․ Position the machine away from direct sunlight and moisture․ For optimal use, place it on a dedicated sewing table with good lighting to enhance visibility and comfort during sewing sessions․
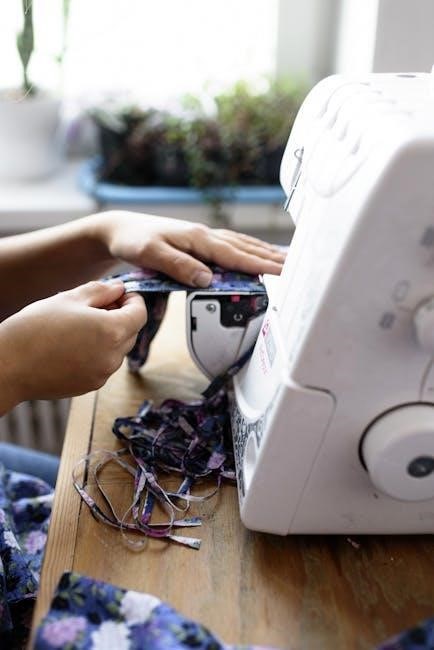
Threading and Bobbin Setup
Proper threading and bobbin setup ensure smooth stitching․ Follow the step-by-step guide to thread the machine correctly, insert the bobbin, and adjust tension for consistent results․
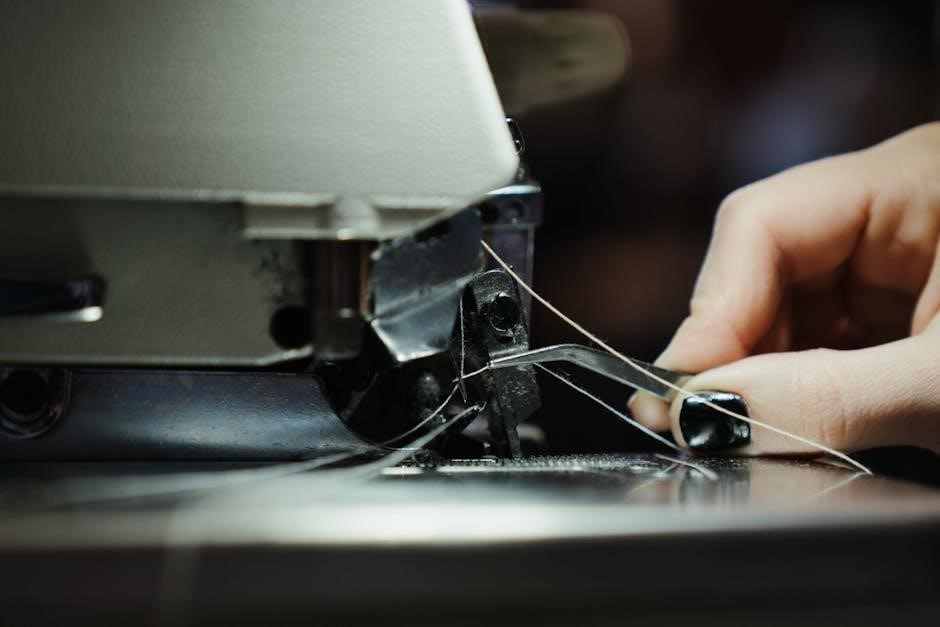
4․1 Step-by-Step Threading Guide
Turn off the machine and unplug it for safety․ Locate the spool pin and thread the machine as shown in the manual․ Gently pull the thread through the tension discs, ensuring it’s seated properly․ Insert the bobbin into the bobbin case, making sure the thread flows smoothly․ Finally, pull the thread gently to check tension and ensure proper stitching․
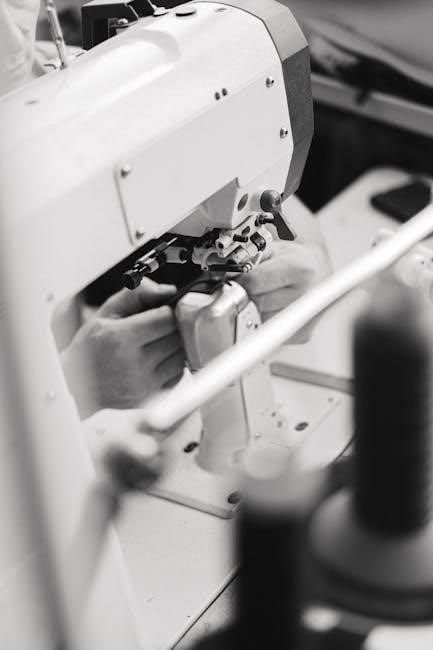
4․2 Inserting and Threading the Bobbin
Turn off and unplug the machine for safety․ Open the bobbin case and insert the bobbin, ensuring it fits securely․ Guide the thread through the bobbin case slot, leaving a small loop․ Pull the thread gently to seat it properly․ Close the bobbin case and pull the thread to ensure it’s correctly engaged․ This ensures smooth stitching and prevents thread breakage․
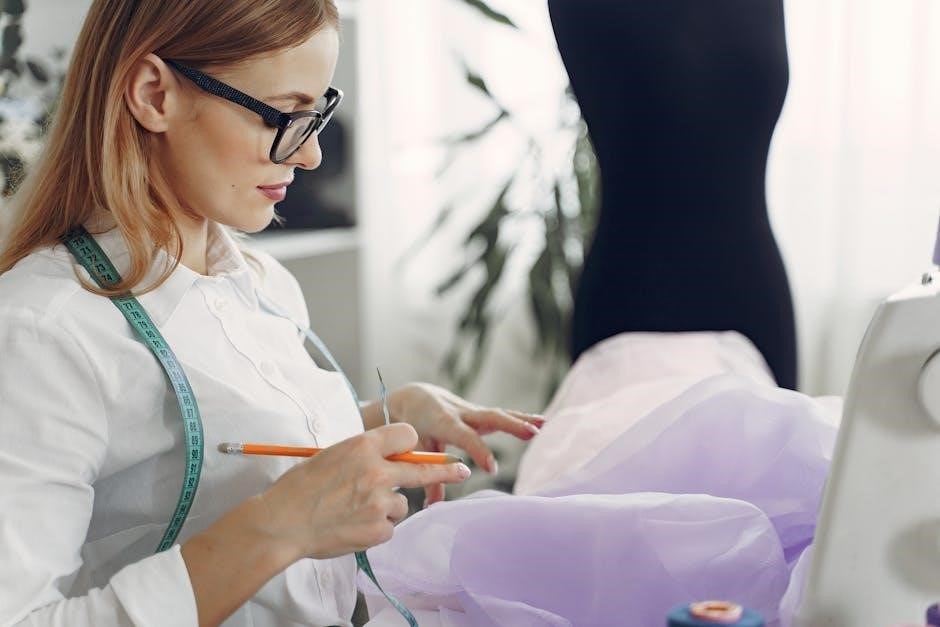
Stitch Selection and Adjustment
The Husqvarna Viking offers various stitch options, including straight, zigzag, and decorative stitches․ Adjustments can be made to stitch length and width using the machine’s controls for customizable results․
5․1 Types of Stitches Available
The Husqvarna Viking sewing machine offers a wide variety of stitches, including straight, zigzag, and decorative options․ It also features specialized stitches for tasks like buttonholes and stretch fabrics․ Additionally, embroidery models provide intricate designs, making it suitable for both basic sewing and advanced creative projects․ The machine’s stitch library ensures versatility for any sewing need․
5․2 Adjusting Stitch Length and Width
The Husqvarna Viking sewing machine allows precise adjustment of stitch length and width to suit various fabrics and projects․ Use the control panel or dial to modify settings, ensuring optimal results for straight stitches, zigzag, or decorative patterns․ Refer to the manual for specific guidance on adjusting these settings for different materials and desired effects․ Proper adjustment enhances both accuracy and the quality of your sewing․
Maintenance and Cleaning
Regular cleaning and lubrication are crucial for maintaining your Husqvarna Viking sewing machine’s performance․ Use a soft brush to remove dust and debris, and apply oil as specified in the manual to ensure smooth operation and extend the machine’s lifespan․
6․1 Regular Cleaning Procedures
Regular cleaning ensures optimal performance of your Husqvarna Viking sewing machine․ Turn off and unplug the machine before cleaning․ Use a soft brush to remove dust and debris from the exterior and internal areas․ Avoid harsh chemicals; instead, use a damp cloth for wiping surfaces․ Regularly cleaning prevents dust buildup and maintains the machine’s efficiency and longevity․
6․2 Lubricating the Machine
To maintain smooth operation, lubricate your Husqvarna Viking sewing machine regularly․ Use high-quality sewing machine oil, applying a few drops to moving parts like gears and hinges․ Avoid over-lubrication to prevent dust attraction․ Ensure the machine is turned off and unplugged before starting․ After lubricating, run a few stitches to distribute the oil evenly․ Follow the manual’s guidelines for frequency and specific areas to lubricate․

Troubleshooting Common Issues
Identify and resolve common sewing machine problems, such as thread breakage or uneven tension, by referring to the manual’s troubleshooting guide for solutions․
7․1 Identifying and Solving Thread Breakage
Thread breakage can occur due to improper tension, dull needles, or low-quality thread․ Check the needle for damage, ensure correct thread quality, and adjust tension settings as per the manual․ Regularly cleaning the machine and using the correct presser foot can also prevent thread issues․ Refer to the troubleshooting guide for detailed solutions․
7․2 Resolving Tension Problems
Tension issues can arise from incorrect settings or improper threading․ Ensure the bobbin and top thread tensions are balanced as per the manual․ Regularly clean the machine and use the correct presser foot for your fabric type․ If problems persist, refer to the troubleshooting guide or contact Husqvarna Viking support for professional assistance․
Advanced Features of the Husqvarna Viking
The Husqvarna Viking offers advanced features like embroidery functions and customizable stitches, allowing users to create intricate designs and patterns․ The manual provides guidance on utilizing these features effectively․
8․1 Using the Embroidery Function
The Husqvarna Viking’s embroidery function allows users to create intricate designs with ease․ Select embroidery mode, choose patterns, and adjust settings as needed․ Use the included hoop to stabilize fabric and ensure precise stitching․ The machine supports various embroidery formats and offers customizable options․ Follow the manual’s guidance for digitizing designs and troubleshooting common embroidery issues to achieve professional-quality results;
8;2 Customizing Stitches and Patterns
The Husqvarna Viking allows users to customize stitches and patterns with ease․ Adjust stitch length, width, and density to suit your project needs․ You can also create and save custom embroidery designs using the built-in editor or import patterns from external sources․ This feature ensures versatility, enabling sewers to personalize their creations for unique and professional-looking results․
Accessories and Attachments
Husqvarna Viking sewing machines offer a variety of accessories, including presser feet, embroidery hoops, and maintenance tools․ These attachments enhance sewing efficiency and versatility for diverse projects․
9․1 Essential Accessories for Sewing
The Husqvarna Viking sewing machine comes with a variety of essential accessories, including multiple presser feet, bobbin cases, and a set of needles․ These tools are designed to enhance sewing efficiency and versatility, allowing users to tackle diverse projects with precision․ Additional accessories like embroidery hoops and specialized feet can be purchased separately to expand the machine’s capabilities for custom stitching and embroidery․
9․2 Installing and Using Additional Attachments
Additional attachments like specialized presser feet and embroidery hoops can be installed to enhance your sewing experience․ Always switch off the machine before attaching any accessory․ Refer to the manual for specific installation instructions, as different attachments may require unique setup steps․ Proper use of these tools ensures optimal performance and expands the machine’s capabilities for various sewing and embroidery projects․
Model-Specific Instructions
This section provides detailed setup and operation guidelines for specific Husqvarna Viking models, such as the H-Class E10 and 150/180/190, ensuring optimal performance tailored to each machine’s unique features․
10․1 Husqvarna Viking H-Class E10 Setup
Unpack and inspect the Husqvarna Viking H-Class E10 for any damage․ Place it on a stable surface and ensure all accessories are included․ Refer to the manual for step-by-step assembly and initial setup instructions․ Familiarize yourself with the control panel and unique features of this model, such as embroidery functions or stitch customization options, to maximize its sewing capabilities․
10․2 Husqvarna Viking 150/180/190 Operation
Unbox and inspect the Husqvarna Viking 150/180/190 for damage․ Place it on a stable surface and plug it in․ Follow the manual to thread the machine and insert the bobbin․ Turn it on, select your desired stitch, and begin sewing․ Refer to the control panel for adjusting settings․ Explore advanced features like embroidery or customizable stitches for enhanced creativity and efficiency․
Software and Firmware Updates
Regularly update your Husqvarna Viking sewing machine’s software and firmware to ensure optimal performance and access to new features․ Visit the official Husqvarna Viking website, download the latest updates, and follow the installation instructions provided in the manual or online support resources․
11․1 Updating the Machine’s Software
To update your Husqvarna Viking sewing machine’s software, visit the official Husqvarna Viking website and download the latest software version․ Connect your machine to a computer via USB, launch the My Embroidery Manager or similar software, and follow the on-screen instructions to complete the update․ Ensure the machine is disconnected from the internet during the process to avoid interruptions․ Always restart the machine after updating for changes to take effect․
11․2 Installing the Latest Firmware
Visit the official Husqvarna Viking website to download the latest firmware for your sewing machine․ Use the provided USB cable to connect the machine to your computer․ Open the My Embroidery Manager software, select the firmware update option, and follow the prompts․ Ensure a stable internet connection and avoid interruptions during the installation․ Restart the machine after completion to apply the update․
Warranty and Customer Support
Understand your warranty terms for coverage details․ Contact Husqvarna Viking support for assistance with machine issues, repairs, or inquiries․ Visit their website or authorized service centers for help․
12․1 Understanding the Warranty Terms
Your Husqvarna Viking sewing machine comes with a warranty that covers repairs and replacements for manufacturing defects․ The warranty typically lasts for a specific period, such as two years for mechanical parts and one year for electrical components․ For full details, refer to your manual or visit the Husqvarna Viking website․ Adhering to the manual’s guidelines ensures warranty validity and proper machine maintenance․
12․2 Contacting Husqvarna Viking Support
For assistance with your Husqvarna Viking sewing machine, visit the official website and enter your product name or question to find relevant support materials․ You can access manuals, troubleshooting guides, and contact information for customer service․ Experts are available to address inquiries, ensuring you receive the help needed to optimize your sewing experience․