Safety Precautions and Initial Setup
Always unplug the system before maintenance․ Avoid using damaged cords or adapters․ Ensure proper ventilation and keep the system indoors․ Refer to the PDF manual for detailed safety guidelines and initial setup instructions to ensure optimal performance and safety․
1․1 Important Safety Instructions
Do not use the system outdoors or modify the power adapter․ Use a 12V, 3A adapter to avoid electric shock․ Ensure proper ventilation and keep the system away from water; Unplug before maintenance and avoid damaged cords․ This ensures safe operation and prevents hazards․ Refer to the manual for detailed guidelines․
1․2 Power Adapter Usage and Maintenance
Use the provided 12V, 3A power adapter exclusively․ Regularly inspect the cord for damage and replace if necessary․ Avoid overloading the adapter and keep it dry․ Unplug during maintenance to prevent electric shock․ Proper maintenance ensures safe and efficient operation․ Follow manual guidelines for adapter care and system performance․ This ensures longevity and reliability of your hydroponic system․
idoo Hydroponic System Models
The idoo Hydroponic System offers three models: the compact ID-IG301S for beginners, and the larger ID-IG306 and ID-IG308 for bigger harvests․
2․1 ID-IG301S Model Overview
The ID-IG301S is a compact, user-friendly hydroponic system designed for indoor gardening․ It is ideal for growing vegetables, flowers, or herbs․ The system includes a 12V power adapter, an extendable rod (max height: 28cm/11inch), and a smart LED grow light․ Suitable for both beginners and experienced gardeners, it offers efficient hydroponic growing with minimal space requirements․ The manual provides detailed setup and maintenance instructions to ensure optimal performance․
2․2 ID-IG306 and ID-IG308 Model Features
The ID-IG306 and ID-IG308 models offer enhanced features compared to the ID-IG301S․ They provide larger growing capacities, supporting more plants for bigger harvests․ These models include advanced hydroponic systems with improved LED grow lights and smart automation features such as built-in fans and timers․ The PDF manual details specific instructions for setup, maintenance, and troubleshooting, ensuring optimal performance and user satisfaction․
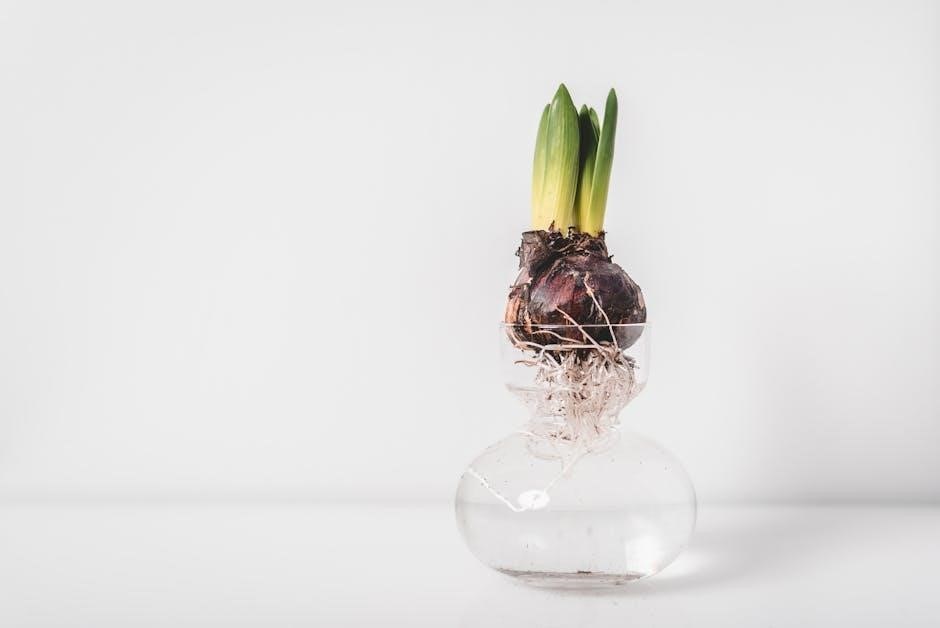
Planting and Growing Process
Place 3-4 seeds in wet sponges, then into planting baskets․ Cover with seedling covers and position in the system․ LED lights and nutrients optimize growth for healthy plants․
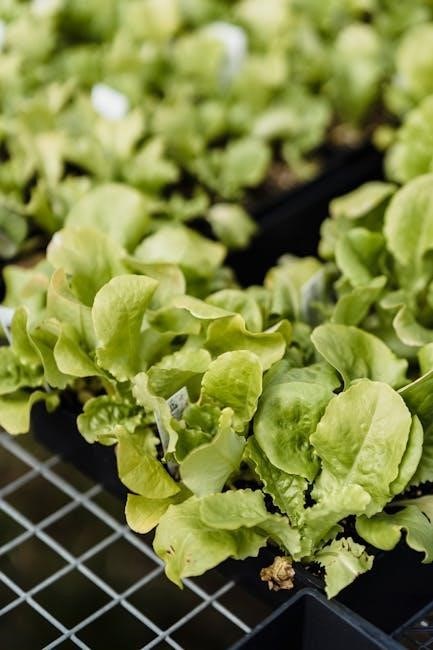
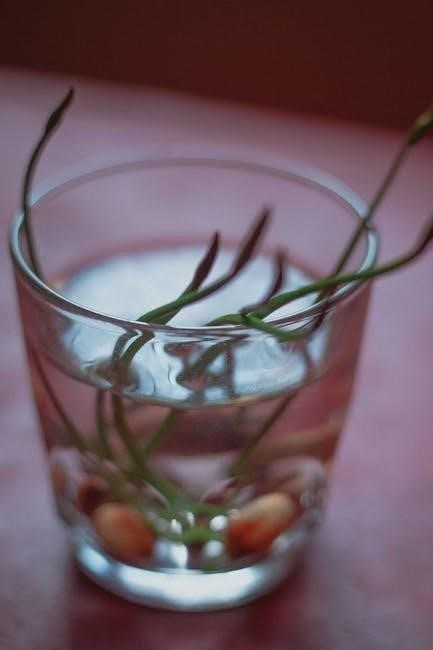
3․1 Seed Germination and Planting Basket Setup
Start by placing 3-4 seeds into a wet sponge․ Position the sponge in the planting basket, then add the seedling cover․ Labels on baskets help track growth․ Most seeds germinate within 1-4 weeks․ Ensure the sponge stays moist for optimal germination․ Once seedlings emerge, remove covers gradually․ This method ensures healthy root development and prepares plants for the hydroponic system․ Follow the PDF manual for detailed steps․
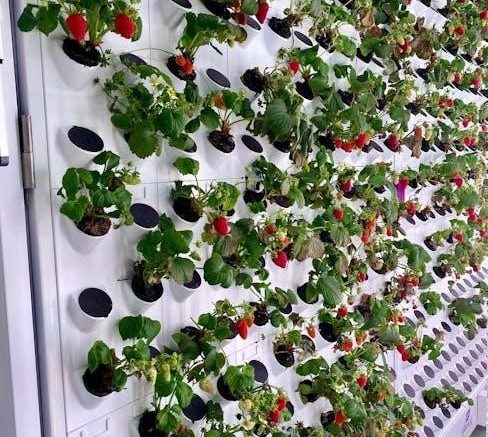
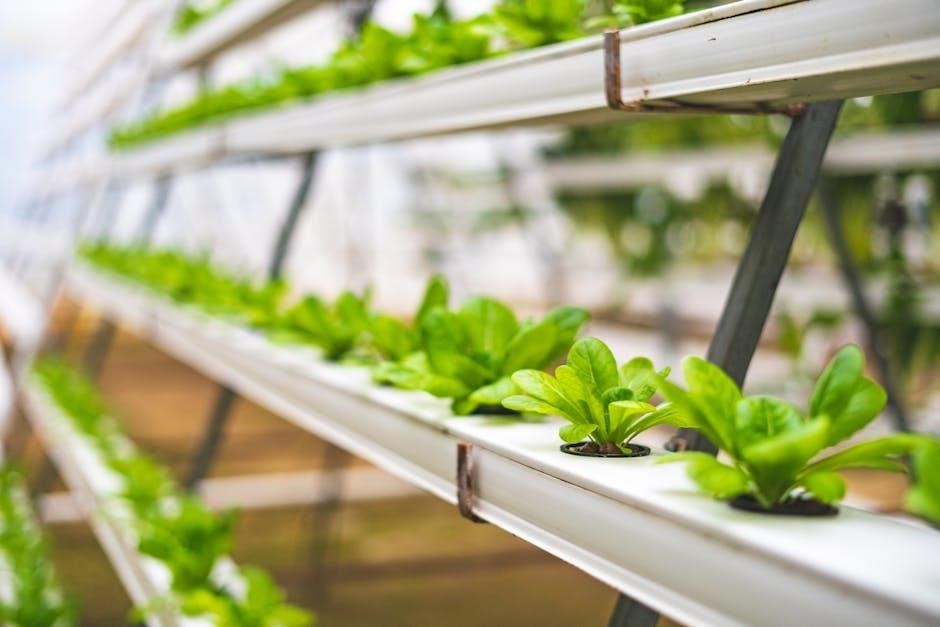
3․2 Placing Seedlings in the Hydroponic System
Gently place the germinated seedlings into the hydroponic system, ensuring the sponge and roots are submerged in water․ Secure the planting basket firmly in the system․ Provide adequate LED light exposure, typically 12-14 hours daily․ Monitor water levels and nutrient balance; Avoid overcrowding to promote healthy growth․ Refer to the PDF manual for specific placement and system initialization steps to ensure optimal growth conditions for your plants․
System Maintenance and Care
Regularly clean and monitor the system․ Use the provided power adapter to prevent damage․ Ensure proper ventilation for optimal performance․
4․1 Cleaning and Monitoring the System
Regularly clean the water tank, pipes, and LED grow lights to prevent algae buildup․ Monitor water levels and nutrient balance to ensure optimal plant growth․ Check for any blockages in the system and address them promptly to maintain proper water circulation․ Keep the system free from debris and ensure all components are functioning correctly for consistent performance․
4․2 Regular Checks for Optimal Performance
Perform routine inspections of pumps, air stones, and tubing to ensure proper water circulation and oxygen supply․ Check LED lights for brightness and adjust as needed․ Test pH and nutrient levels weekly, making adjustments according to plant requirements․ Monitor temperature and humidity levels to maintain a stable growing environment․ Regularly review system operations to prevent issues and ensure consistent plant health and growth․
Troubleshooting Common Issues
Identify common problems like pump failure or low germination․ Reset the system if necessary․ Consult the PDF manual for specific solutions and maintenance tips to resolve issues quickly․
5․1 Common Problems and Solutions
Common issues include pump failure, low germination rates, or uneven growth․ Check power connections and ensure proper water circulation․ For germination, verify seed quality and maintain optimal humidity․ Consult the manual for troubleshooting guides․ Resetting the system can resolve software-related issues․ Adjust nutrient levels and light exposure to address growth discrepancies․ Regular maintenance and monitoring can prevent most problems․ Refer to the PDF manual for detailed solutions․
5․2 Resetting and Reinitializing the System
To reset the system, unplug the power adapter, wait 30 seconds, and replug․ This restores default settings․ For reinitialization, follow the manual’s setup guide․ Ensure all components are clean and properly assembled․ Resetting helps resolve software glitches without affecting plant growth․ Regular reinitialization maintains optimal performance․ Always refer to the PDF manual for detailed reset and initialization procedures․
Maximizing Plant Growth
Adjust LED light spectrum for plant stages, use high-quality nutrients, and monitor water levels․ Regular pruning and airflow adjustments promote healthy growth and prevent issues․
6․1 Tips for Faster Growth and Healthier Plants
Optimize water levels to avoid overwatering․ Use balanced nutrients tailored to plant stages․ Adjust LED light spectrum for growth phases․ Maintain proper ventilation and temperature․ Regular pruning enhances airflow and light penetration, promoting robust growth․ Monitor pH levels and ensure adequate oxygen supply for roots․ Replace water and clean the system periodically to prevent nutrient buildup and bacterial growth․
6․2 Managing Nutrients and LED Light Exposure
Use high-quality hydroponic nutrients, adjusting concentrations based on plant stages․ Provide 16-18 hours of LED light for seedlings and 12-14 hours for mature plants․ Adjust the spectrum to blue for vegetative growth and red for flowering․ Avoid overexposure to prevent stress․ Rotate plants for even light distribution and maintain a 12-24 inch distance from LEDs to prevent burning․ Monitor nutrient pH levels for optimal absorption․
Accessing the PDF Manual
Visit the official idoo website or authorized retailers to download the PDF manual for your specific model․ Ensure offline access for easy reference and setup guidance․
7․1 Downloading the idoo Hydroponics Manual
To download the idoo hydroponics manual, visit the official idoo website or authorized retailers․ Navigate to the product page for your specific model (e․g․, ID-IG301S, ID-IG306, or ID-IG308)․ Look for the “Download Manual” option and save the PDF․ Ensure you have the correct model number for accurate instructions․ The manual provides detailed setup, operation, and troubleshooting guides․ Sign up for newsletters to receive updates and exclusive access to resources․
7․2 Navigating the PDF Manual for Specific Models
Once downloaded, open the PDF manual and use the table of contents or bookmarks to navigate․ Sections are organized by model, such as ID-IG301S, ID-IG306, or ID-IG308․ Each section covers setup, operation, and troubleshooting specific to your system․ Reference the index for quick access to topics like safety precautions, planting, and maintenance․ Ensure you follow model-specific instructions for optimal performance and safety․
LED Grow Light Features
The LED grow lights provide optimal spectra for plant growth, adjustable for different stages․ They promote healthy development and maximize energy efficiency, ensuring robust plant performance indoors․
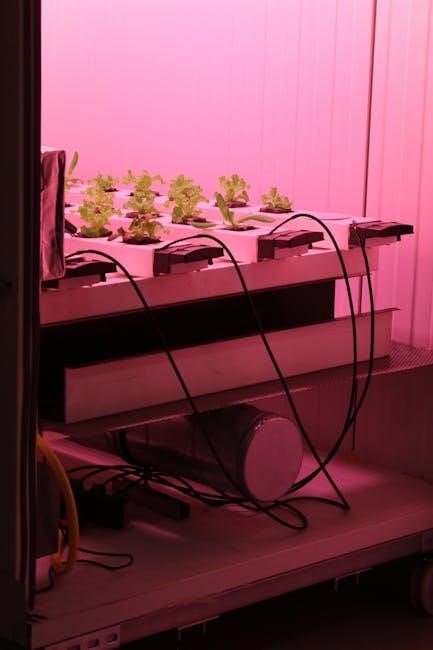
8․1 Role of LED Lights in Plant Growth
LED grow lights play a crucial role in plant growth by providing specific spectra that promote chlorophyll production and photosynthesis․ They emit targeted wavelengths to support vegetative growth, flowering, and fruiting stages․ The adjustable spectrum ensures optimal light distribution, enhancing plant health and productivity․ LEDs are energy-efficient, producing minimal heat, which helps maintain a stable growing environment and prevents overheating, ensuring robust and healthy plant development indoors․
8․2 Adjusting Light Spectrum for Different Growth Stages
Adjusting the LED light spectrum is essential for optimizing plant growth at various stages․ During germination, use blue-heavy spectra to promote root development․ For vegetative growth, balance blue and red lights to enhance leaf expansion․ Flowering and fruiting stages benefit from increased red light to maximize yield․ The iDOO system allows precise spectrum adjustment, ensuring plants receive the right light at each stage for healthy and productive growth․
Smart Automation Features
The iDOO system includes a built-in fan for optimal ventilation and smart timers to automate light and nutrient schedules․ Remote control options enhance convenience, ensuring efficient plant care․
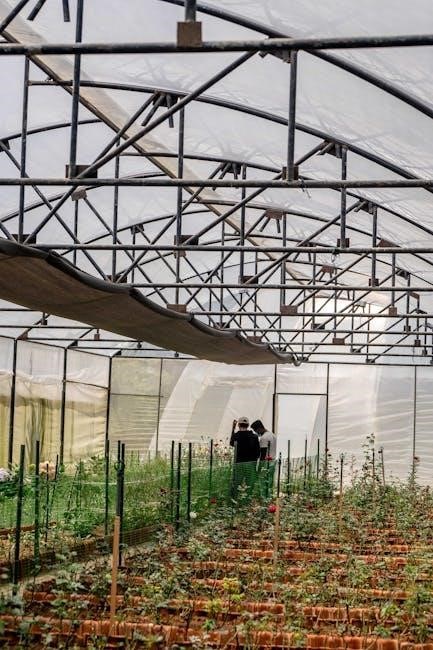
9․1 Built-in Fan and Ventilation System
The iDOO system features a built-in fan that ensures proper air circulation, maintaining optimal temperature and humidity levels․ Regularly clean the fan to prevent dust buildup and ensure efficient operation․ Proper ventilation is crucial for healthy plant growth and system performance․ Always follow the manual’s guidelines for fan maintenance to maximize its longevity and effectiveness in your hydroponic setup․
9․2 Smart Timers and Remote Control Options
The iDOO system offers smart timers and remote control features, allowing users to schedule and monitor lighting, watering, and fan operations effortlessly․ This automation ensures consistent care for your plants, even when you’re not nearby․ Use the remote control to adjust settings without interrupting your daily routine, providing your plants with the precise conditions they need to thrive․ Regularly check the manual for updates on utilizing these features effectively․
Additional Resources and Support
Access user manuals, troubleshooting guides, and FAQs online․ Join forums and communities for tips and advice․ Contact idoo customer support for assistance with your system․
10․1 Online Forums and User Communities
Join online forums and user communities to connect with other idoo hydroponics enthusiasts․ Share experiences, ask questions, and gain insights from experienced growers․ Many forums offer tips, troubleshooting advice, and resources for optimizing your system․ Platforms like Facebook groups or Reddit communities dedicated to hydroponics are great for engaging with the idoo user base․ Visit the official idoo website for links to recommended forums and community resources․
10․2 Contacting idoo Customer Support
For direct assistance, contact idoo customer support through their official website or email․ Provide your model number and detailed issue description for prompt service․ Their team offers troubleshooting, repair guidance, and warranty inquiries․ Visit the support section on idoo’s website for contact information and resources to resolve any concerns effectively․